
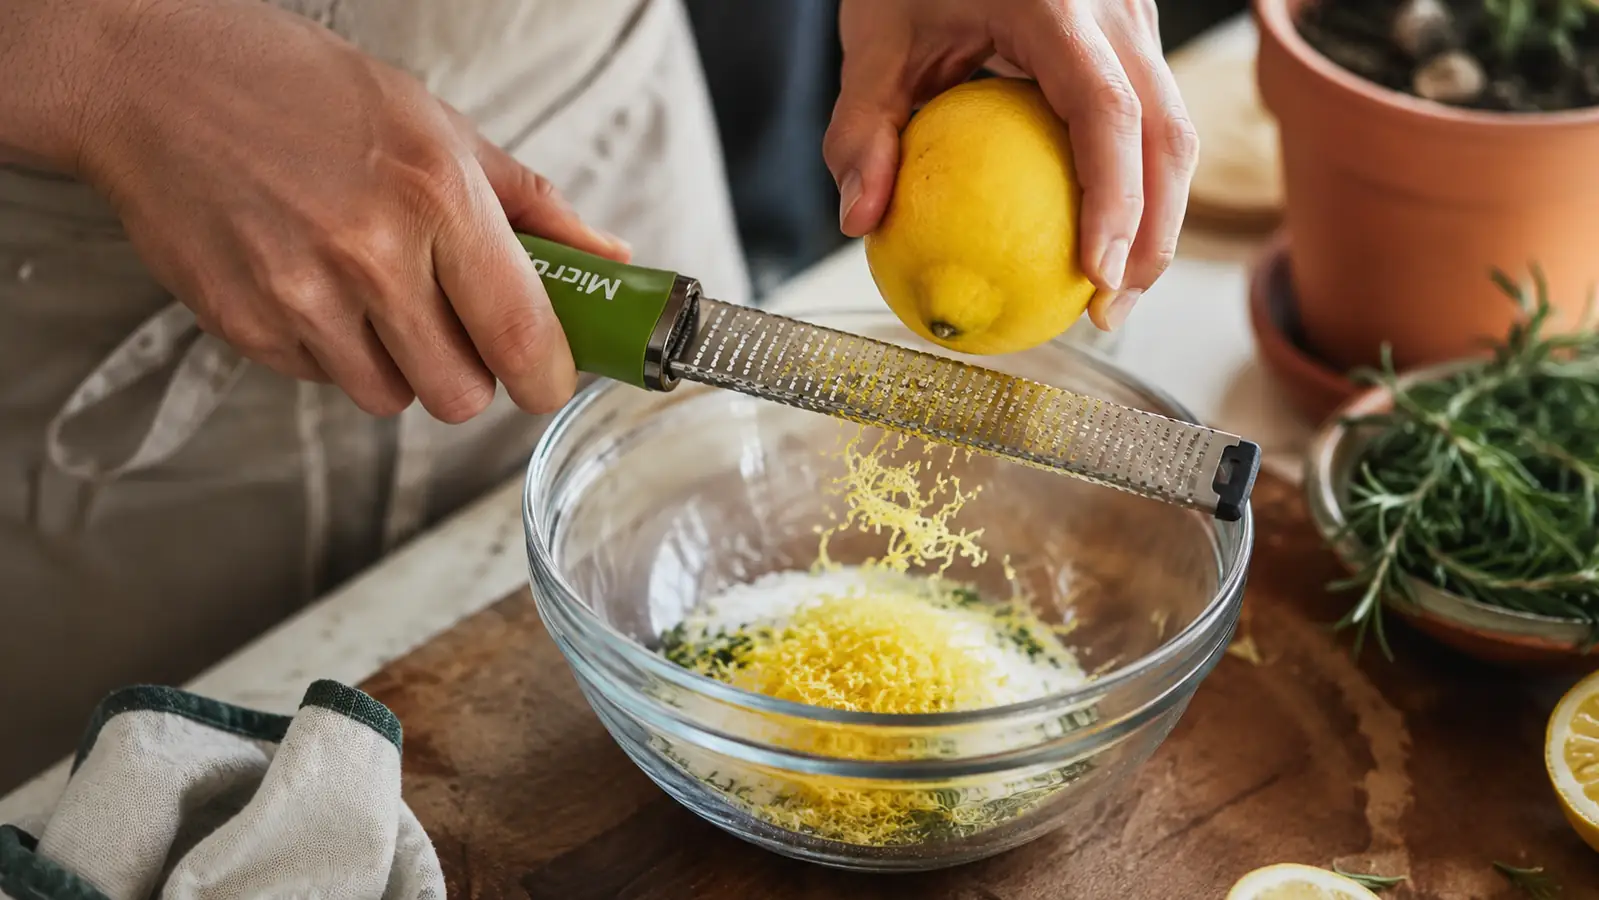
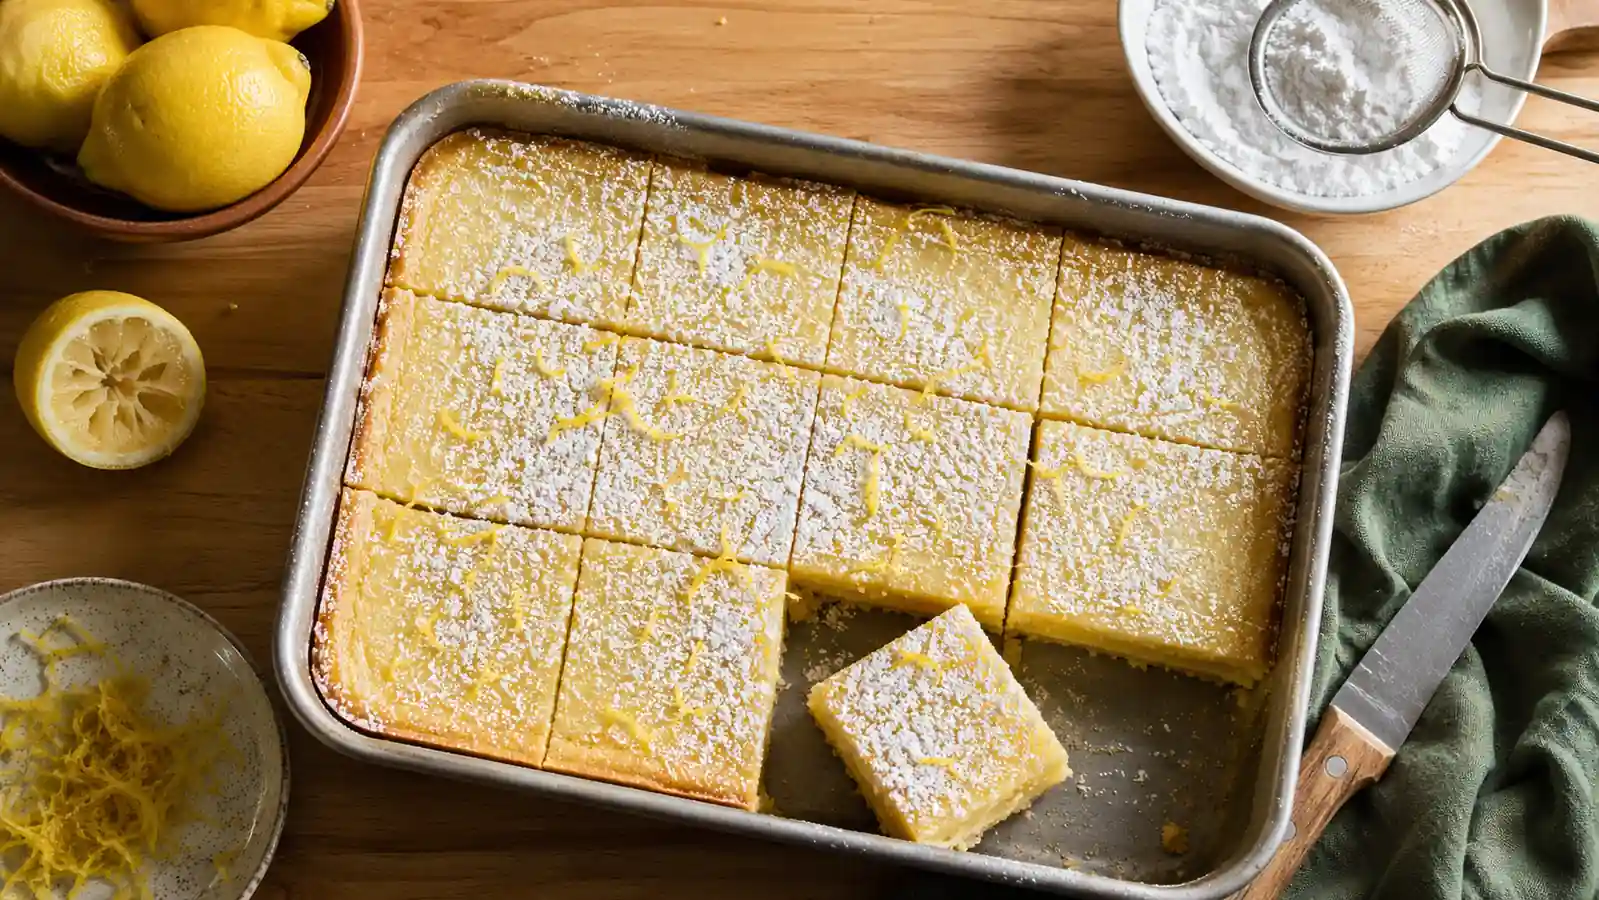
I ruined a batch of lemon bars for my daughter's birthday because I zested a lemon with a box grater and didn't realize half of what landed in the bowl was pith, not zest. The bars came out with a faint bitter edge that nobody could quite place, and it took me embarrassingly long to figure out the problem wasn't the recipe, it was me. That was three years ago, right before I bought the Microplane Premium Classic Series Zester, and I haven't had a bitter batch of anything since.
Zesting citrus without hitting the pith is one of those kitchen skills that looks trivial until you've botched it, and then it becomes the thing you're paranoid about every time you reach for a lemon. The good news is it's genuinely a five step process, not a talent you're born with, and it works the same whether you're zesting a lemon for a vinaigrette, a lime for guacamole, or an orange for a glaze. The difference between a bitter result and a bright one comes down to the tool in your hand and about four things you do with it. Here's exactly how I do it, start to finish, no guesswork, the same way I do it on a random Tuesday and the same way I did it for a batch of forty holiday cookies last December.
The wrong tool turns bright citrus oil into bitter pith shavings. This one doesn't.
The Microplane Premium Classic Series Zester is rated 4.8 stars across more than 48,000 reviews, and the reason is simple: the etched blades are sharp enough to shave off only the colored outer layer and nothing underneath. It's the one tool that made me stop dreading citrus prep.
Amazon Check Today's Price on Amazon →Step 1: Use a Tool Built for Zesting, Not a Box Grater or a Peeler
A box grater's small holes look like they should work, but they're built to shred cheese and vegetables, not shave a paper thin layer off a lemon. The holes are too deep and too wide, so you end up pressing harder to force the peel through, and that pressure is exactly what drags the bitter white pith along with the zest. A vegetable peeler has the opposite problem. It takes off long strips cleanly, but you're relying on your eye and your knife skills afterward to mince those strips fine enough to use, and it's easy to peel too deep on the first pass and get pith mixed in before you even notice.
A dedicated zester solves both problems at once. Mine is the Microplane Premium Classic Series, the green handled one with the etched stainless steel blade, and the teeth on it are closer to a woodworking rasp than a cheese grater. Each pass takes off maybe a third of a millimeter, just the colored layer, and the blade does that on its own without you needing to press. That's the whole trick. You're not applying pressure to cut through the peel, you're barely touching it and letting dozens of tiny razor edges do the work for you.
It runs $17.99 at today's price, it's dishwasher safe on the top rack, and the same tool doubles as a parmesan grater, which is honestly half the reason it never gets put away in my kitchen. If you're still zesting with whatever's already in your drawer, this is the one upgrade that actually changes the outcome, not just the process.
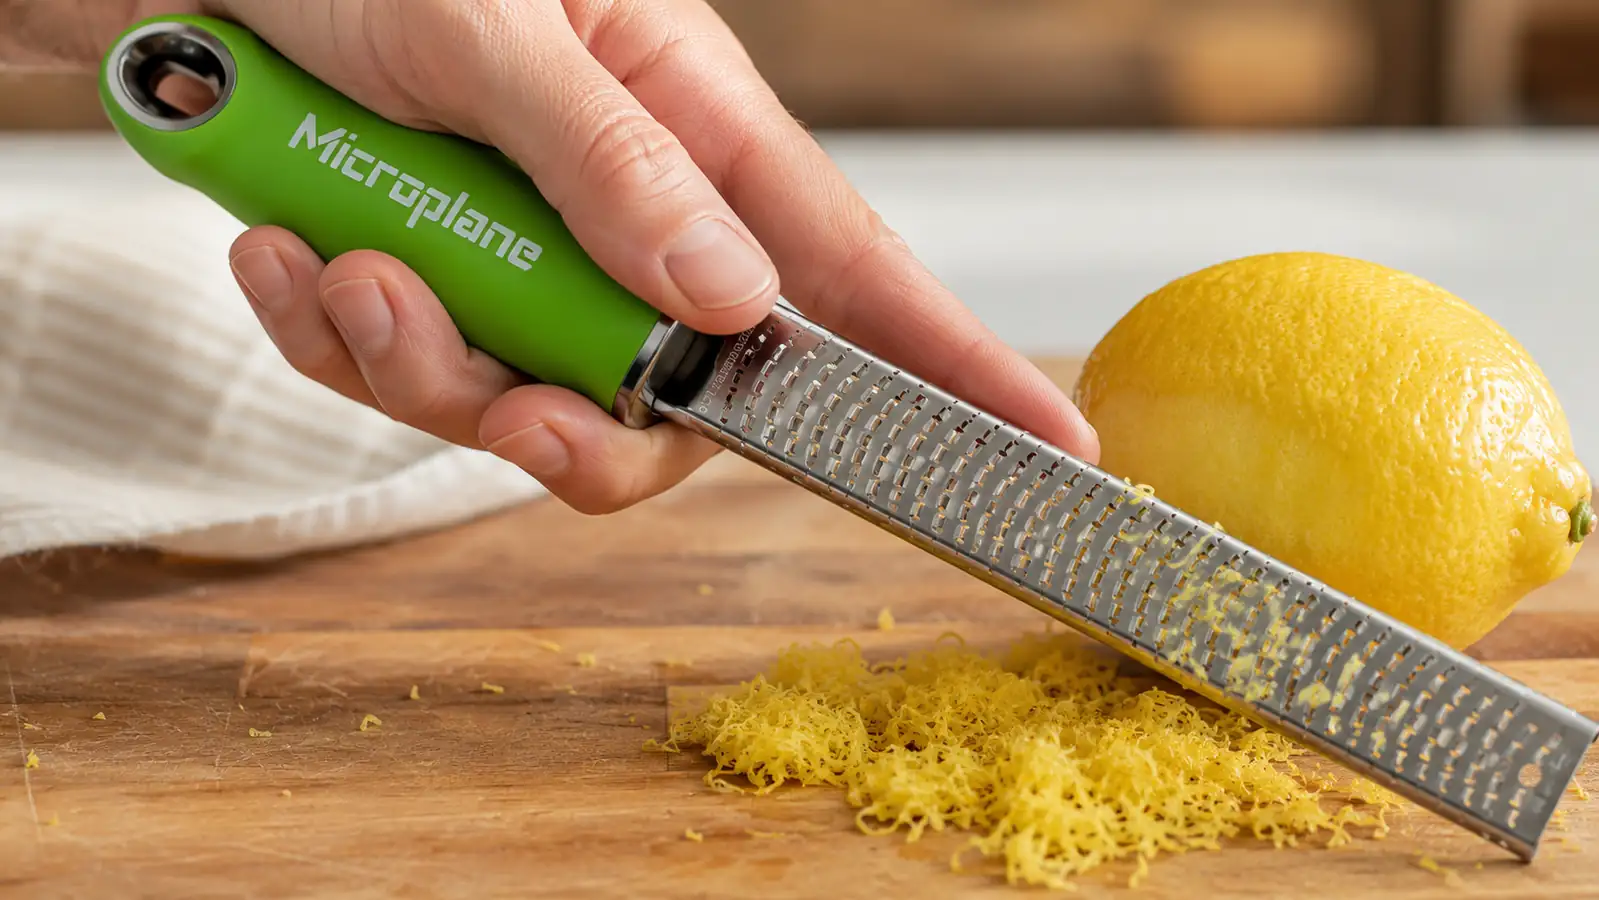
Step 2: Wash and Dry the Fruit Before You Even Pick Up the Zester
Most citrus at the grocery store has a thin wax coating meant to extend shelf life, plus whatever residue is left over from handling and shipping, and all of it sits directly on the layer you're about to shave into your food. I run each lemon or lime under warm water and scrub it with a produce brush for about ten seconds, which is enough to break up the wax without needing soap.
Dry the fruit completely before you zest it. A wet peel makes the zester slip, and a slipping zester is how you end up pressing harder than you meant to, which brings the pith right back into play. I pat mine dry with a kitchen towel and let it sit for a minute so there's no lingering dampness on the surface before the blade touches it.
One more thing that helps here: let cold fruit come closer to room temperature before you zest it. A lemon straight out of the refrigerator is firmer and the oil in the skin is less active, so you end up needing more pressure to get a good pass, and more pressure is what drags pith into the mix. I pull citrus out of the crisper drawer twenty or thirty minutes before I plan to cook with it, just enough to take the chill off.
Step 3: Hold the Zester at a Shallow Angle and Use Short, Light Strokes
I hold the Microplane at roughly a 45 degree angle to the fruit, not flat against it and not straight up and down. Flat drags too much surface at once, straight up and down digs in. The shallow angle lets the blade skim across the curve of the peel instead of catching an edge and biting deeper than it should.
Use short strokes, an inch or two at a time, and let the weight of the blade do the work instead of pushing down. I rotate the lemon in my other hand between each stroke rather than moving the zester around the fruit, it's easier to control and easier to see where I've already been. If you find yourself pressing hard enough that your knuckles go white, you're doing it wrong, back off and let the blade do its job.
The most common mistake I see people make here is sawing the zester back and forth like they're using a rasp on a piece of wood, dragging it forward and back over the same spot. That doubles your risk of digging into the pith on the return stroke, since you're no longer skimming, you're carving. Every stroke on my Microplane goes in one direction only, away from my hand, and then I lift the blade completely off the fruit before starting the next stroke.
Step 4: Watch the Peel, Not the Zest, and Stop the Second You See White
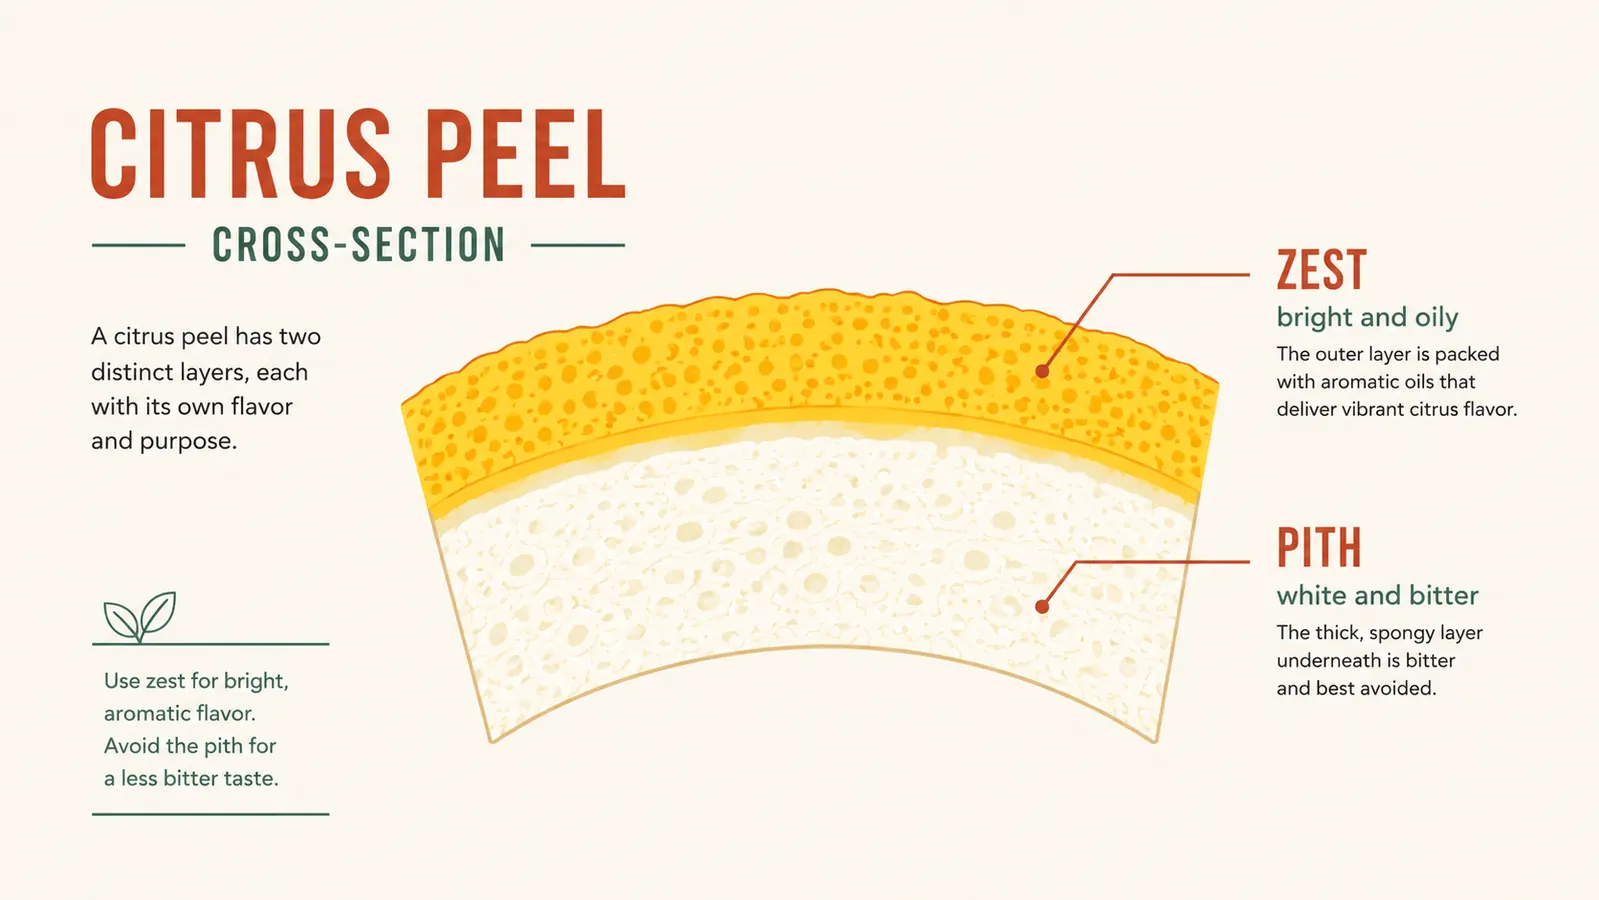
This is the step that actually prevents bitterness, and it has nothing to do with pressure once you're using the right tool. It's about paying attention to color. Bright yellow, green, or orange peel is zest. The moment you see pale white or cream colored shavings mixed in, you've hit the pith, and you need to move to a fresh spot on the fruit rather than going back over that same area again.
I make one pass per section of peel and check the color before I go back for a second pass in the same spot. On a Meyer lemon from my neighbor's tree, the colored layer is thinner than on a store bought lemon, so I usually get one and a half passes before I see white. On a thicker skinned navel orange, I can get two or three clean passes in the same spot before pith shows up. Know your fruit, and let your eyes make the call, not a fixed number of strokes you counted out ahead of time.
Pith thickness also varies more than people expect within the same bag of lemons. I've had lemons from the same store where one had a pith layer I could see clearly after a single pass, and the next one gave me three clean passes before any white showed up. Limes tend to run thinner skinned than lemons, which means less room for error, so I slow down and use even shorter strokes when I'm zesting limes for guacamole or a margarita.
Step 5: Zest Directly Over What You're Cooking, and Use It Right Away
Citrus zest is basically tiny pockets of essential oil sitting in the colored skin, and that oil is what carries the flavor and the smell. It starts evaporating the moment it's exposed to air, which means zest you grate ahead of time and let sit on a cutting board for twenty minutes is noticeably less potent than zest that goes straight into the bowl.
I zest directly over whatever I'm making, a mixing bowl for lemon bars, a saucepan for a pan sauce, a jar for vinaigrette, so none of that oil gets lost sitting on a cutting board in between. If a recipe needs both the zest and the juice, I always zest first and juice second, since it's nearly impossible to zest a fruit you've already squeezed flat.
I've tested this the boring way, by zesting a lemon and smelling the pile at the five minute mark and again at the twenty minute mark, and the difference is real. At twenty minutes the sharp, almost peppery smell has faded into something flatter and more generic. If a recipe has you zesting ahead of time as part of a mise en place setup, wrap the zest tightly in plastic wrap pressed right against it, that cuts down on the air exposure that's actually stealing the flavor before it ever hits the pan.
What Else Helps
A couple of small habits make this even more consistent. I clean the Microplane immediately after use, a quick rinse and a pass with the little brush that came with mine clears the fine zest out of the teeth before it dries and clogs them. If I know I'll want zest later in the week, like for a batch of gremolata or a lemon glaze, I zest extra while I'm already at it and freeze it flat on a small plate, then transfer the frozen bits to a small bag. It keeps most of its punch for a couple of weeks that way, which beats letting a lemon go soft in the fruit bowl before I get around to using it.
It's also worth mentioning that the same Microplane doubles as a hard cheese grater, which matters more than it sounds like. On a night when I'm making a lemon butter pasta, I zest the lemon straight into the pan and then flip the tool over to grate parmesan over the top a minute later, same handle, same motion, one less thing cluttering the drawer. If you cook citrus and cheese into the same dishes as often as I do, that overlap alone is worth the $17.99.
The difference between a bitter batch and a bright one isn't the recipe. It's whether you stopped zesting the second you saw white.
Every recipe that calls for zest is really asking for the oil in the peel, not the peel itself.
The Microplane Premium Classic Series Zester is still the tool sitting out on my counter three years after I bought it, not tucked in a drawer with things I forgot I owned.
Amazon Check Today's Price on Amazon →