
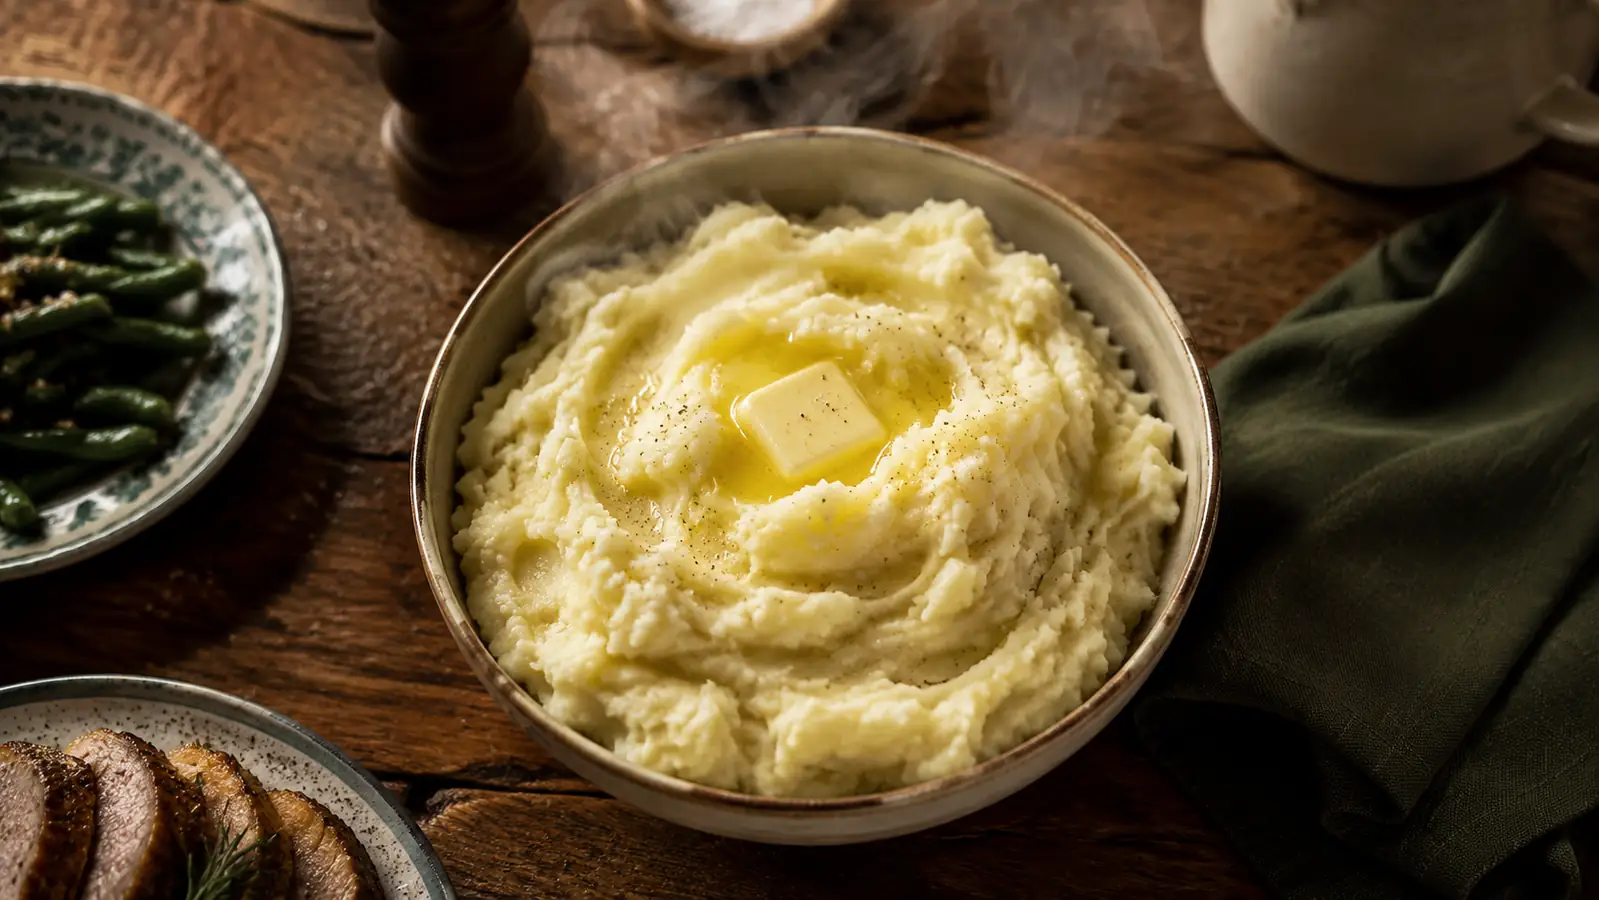
The first time I made mashed potatoes for my mother-in-law, I ran them through the hand mixer because that's what my mom always did. Ten minutes later I had a bowl of potato paste with the texture of wallpaper glue. She was polite about it. I was not polite about it in my own head. That was six years ago, and it took me embarrassingly long to figure out that the tool, not the recipe, was the problem.
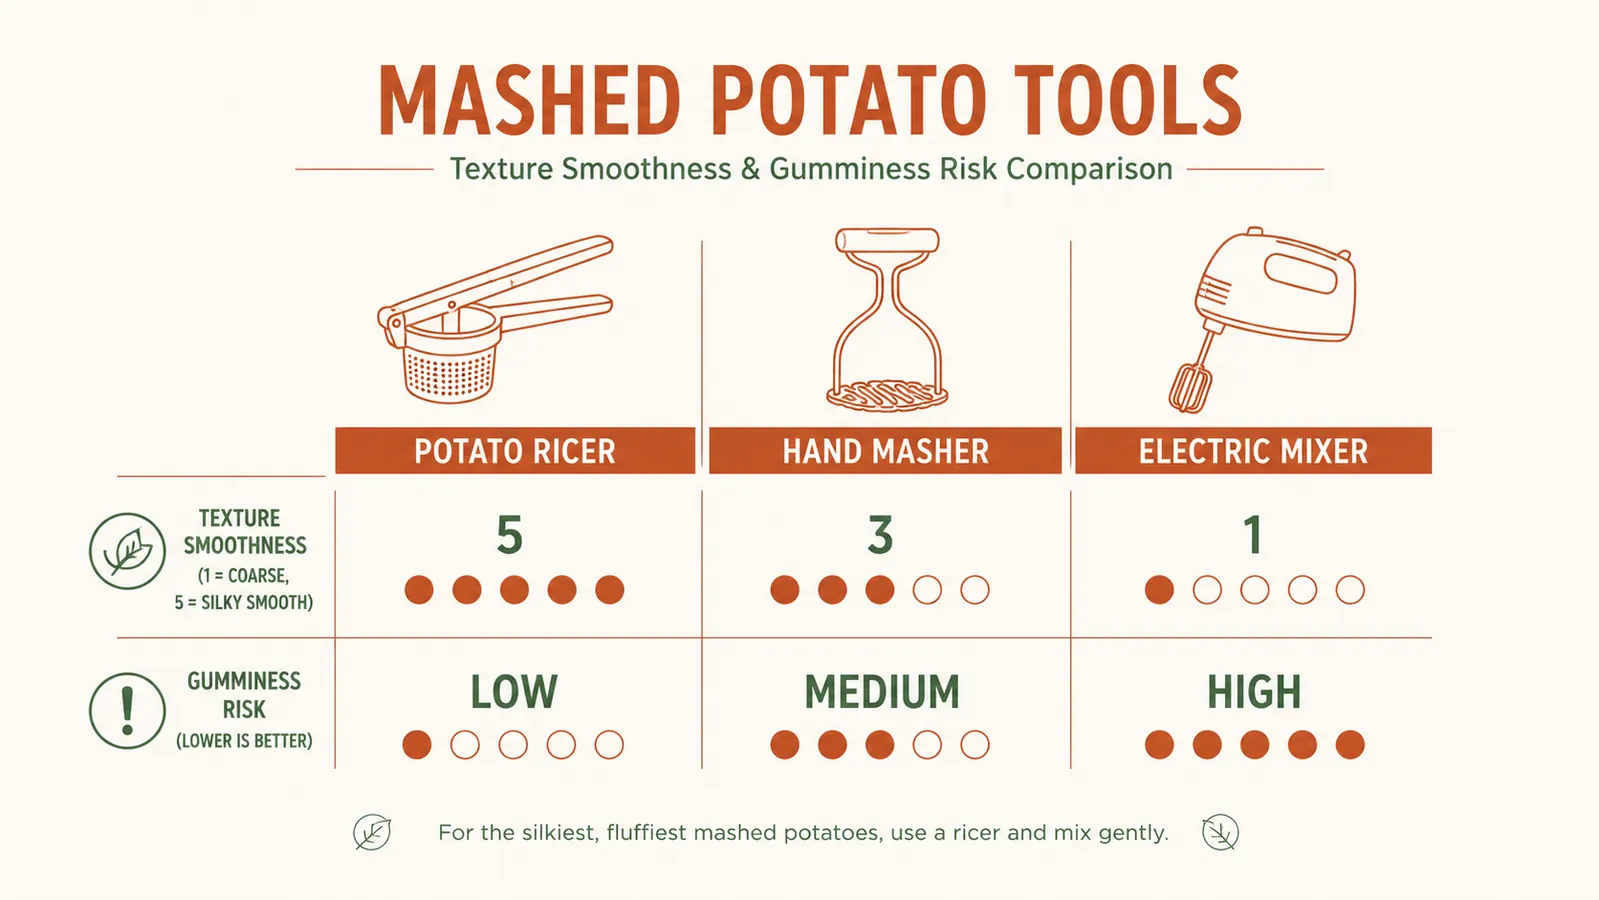
Mashed potatoes get gluey when you overwork the starch, and a mixer or an aggressive hand masher does exactly that, no matter how careful you think you're being. A potato ricer solves the problem a different way. It pushes cooked potato through small holes in a single gentle pass, which breaks the flesh apart without smashing the starch cells open. I switched to the PriorityChef stainless steel ricer about two years ago after my third gummy Thanksgiving batch, and I have not made a lumpy or gluey bowl since. This is the exact process I use now, every Sunday, no shortcuts skipped, written down the way I'd explain it to a friend standing next to me in the kitchen.
Before we get into the steps, here's the short version of why this works. Fluffy mashed potatoes come down to three things: the right potato, the right amount of moisture, and minimal handling once the starch is exposed. A ricer solves the third one almost by accident, because it's mechanically incapable of overworking the potato the way a mixer paddle or a vigorous hand masher can. Once you understand that, the rest of the process is really just protecting the work the ricer does for you.
Skip the gluey mash. Here's the tool that actually fixes it.
The PriorityChef Potato Ricer is the single piece of equipment that changed my mashed potatoes from average to the thing people ask me to bring to Thanksgiving. Stainless steel construction, dishwasher safe, and it handles a full russet in one press without straining your wrist.
Amazon Check Today's Price on Amazon →Step 1: Pick the Right Potato
This step matters more than people think. You want a starchy potato, not a waxy one. Russets are my default for mashing, they're high in starch and low in moisture, which is exactly what you need for a fluffy result instead of a wet, dense one. Yukon Golds work too and give you a slightly creamier, more buttery flavor with a touch of natural sweetness, which is why I use them when I'm serving alongside something rich like a beef roast. For a family of four I buy about 3 pounds, which is roughly six medium potatoes, and I bump that to 4.5 pounds when my in-laws are coming and I know there will be seconds.
Skip red potatoes and anything labeled 'new potatoes.' They're waxy, high in moisture, and they turn gummy almost no matter what tool you use because there's less starch to work with and more water fighting against you. If a bag doesn't say russet or Yukon Gold on it, I don't buy it for mashing. I'll use waxy potatoes for a roast or a potato salad, where you actually want them to hold their shape, but never for this.
Peel first, then cut into roughly 1.5 inch cubes. Even sizing is the part people skip, and it's why you sometimes end up with some chunks falling apart while others are still firm in the center by the time you drain the pot. I cut mine on a cutting board with a ruler taped to the edge for the first few batches until I trained my eye. Now I just eyeball it, but if you're new to this, the ruler trick genuinely helps and takes thirty seconds to set up.
Step 2: Boil Them the Right Way
Start the potatoes in cold water, not boiling water. This is the single biggest mistake I see in other people's kitchens. If you drop cold potato cubes into already-boiling water, the outside cooks fast while the inside stays firm, and you end up mashing potatoes that are unevenly done, which shows up later as small hard bits even after ricing, and a ricer will not save you from underdone potato. Cover the cubes with cold water by about an inch, add a generous pinch of salt, roughly a tablespoon per gallon, and bring it up to a boil together over medium-high heat.
Cook until a paring knife slides in with almost no resistance, usually 18 to 22 minutes depending on cube size. I check at the 15 minute mark and every couple minutes after that. You're looking for fork-tender, not falling apart into the water. If the cubes are starting to crumble at the edges while you're testing, pull them immediately, they'll finish softening in the residual heat once you drain and cover them.
Don't walk away during this step. Overboiled potatoes soak up excess water, and that extra moisture is the enemy of a fluffy texture no matter how good your ricer is. Set a timer even if you think you'll remember, I've burned dinner more than once because I was 'just quickly' answering a text.
Step 3: Drain and Dry Them Thoroughly
Drain the potatoes in a colander, then dump them straight back into the hot, empty pot and set it back on the still-warm burner, heat off, for one to two minutes, shaking the pot occasionally. This steams off the surface moisture that clings to the cubes after draining. It sounds like a small step, but it's the difference between fluffy potatoes and slightly wet, heavy ones that pool liquid at the bottom of the serving bowl.
Never rinse the potatoes under cold water to cool them down, even if you're in a hurry and worried about timing everything else on the table. Rinsing washes away starch from the surface and adds moisture back in right after you just steamed it off, which undoes the whole point of the previous step. You want the potatoes hot and dry going into the ricer, not cool and damp.
If I'm cooking a big batch for a holiday, I'll spread the drained cubes on a sheet pan for a minute instead of using the pot trick, just to get more surface area exposed to air. Either method works, the goal is the same: hot, dry potato going into the next step, with as little standing water as possible clinging to the pieces.

Step 4: Rice the Potatoes While They're Still Hot
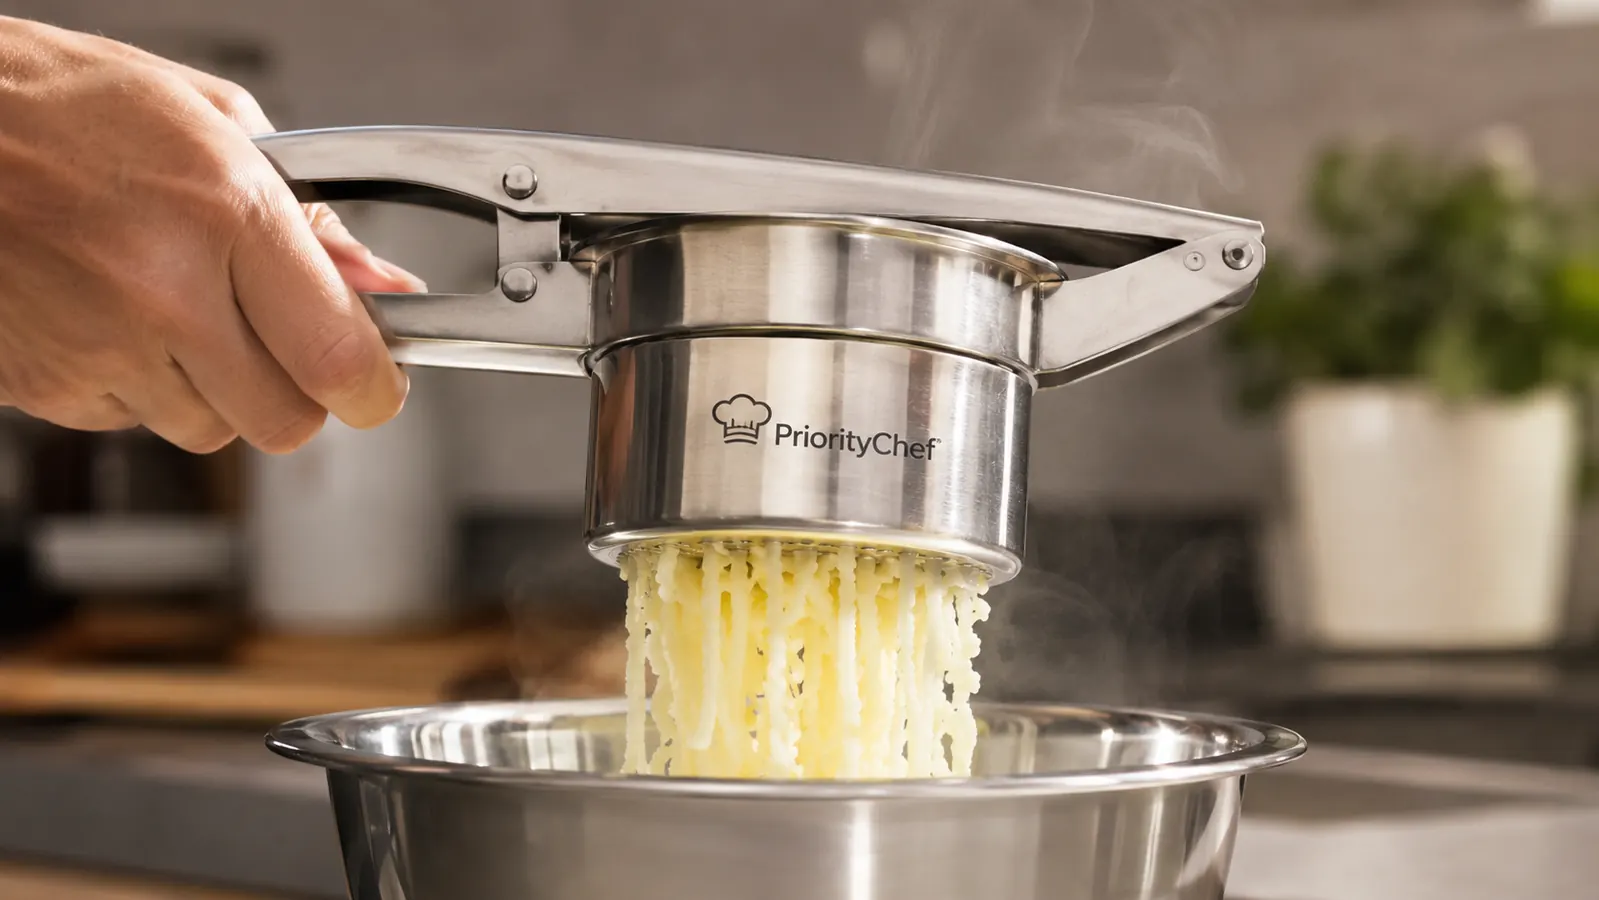
This is where the PriorityChef ricer earns its spot in my drawer. Load the hopper with hot potato cubes, no more than it comfortably holds, and press the handles straight down over a mixing bowl. Don't twist the handles, just press evenly and steadily. The potato comes out the bottom in thin ribbons that look almost like rice, which is where the tool gets its name. The 15 ounce hopper on this one fits about half a large potato per press, so for six potatoes I'm doing roughly ten to twelve presses total, which takes me about four minutes start to finish.
Ricing while the potato is still hot matters for two reasons. First, hot starch is more pliable and separates cleanly instead of clumping the way it does once it's cooled and firmed back up. Second, you avoid the problem you get with a food processor or an aggressive mixer, which rupture starch cells and release a gluey compound called amylose. A ricer barely touches the cell walls, it just pushes the potato through small holes in a single gentle pass, so you get lump-free texture without the gum. Use a folded kitchen towel to hold the hopper if the handle gets warm, mine has a silicone-wrapped grip so I usually skip the towel.
Work in batches rather than trying to force a huge amount through at once. I know it's tempting to overfill the hopper when you're in a hurry to get dinner on the table, but overpacking it just makes the press harder and can leave denser clumps that didn't get pushed all the way through the holes. Ten seconds of patience here saves you a lumpy bowl, and it's a lot easier on your forearm too, something I appreciate more every year.
Step 5: Fold In Warm Butter and Dairy
Warm your butter and milk or cream before they touch the riced potato. I melt a stick of butter with a cup of whole milk in a small saucepan on low heat while the potatoes are boiling, so it's ready to go the second I'm done ricing. Cold dairy poured onto hot riced potato shocks the starch and tightens the texture, which is part of why some restaurant leftovers or store-bought mashed potatoes taste dense even when they weren't overmixed in the first place.
Fold the warm butter and milk in with a rubber spatula, don't stir hard and don't use a mixer at this stage either, even though it's tempting once the ricer has done the hard part. Add the liquid gradually, a little at a time, until you hit the consistency you want. I usually stop around three-quarters of a cup of milk for six potatoes, but that depends on how loose you like them and whether you're serving them with gravy on top.
Season with salt and pepper at the very end, tasting as you go, since the amount of salt in your boiling water already did some of the work. A small pinch of white pepper instead of black keeps the color clean if you're going for a restaurant look, and a spoonful of sour cream folded in at the same time as the butter adds a slight tang that a lot of guests notice without being able to name it.
What Else Helps
A warm serving bowl makes a bigger difference than people expect. I run mine under hot tap water and dry it right before the potatoes go in, which keeps them from cooling and stiffening on the table before everyone's had a serving. If you're making these ahead for a holiday, hold them in a slow cooker on the warm setting with a splash of extra milk stirred in every 30 minutes, it keeps the texture loose instead of letting the top form a skin.
If you don't own a ricer yet and want to test the method before buying one, a fine-mesh strainer and a rubber spatula can approximate the technique in a pinch, but it's slower and your forearm will know it by the third potato. For everyday cooking, though, the ricer is the tool I reach for without thinking about it anymore, it lives in the drawer closest to the stove, right next to the peeler, because it gets used that often.
The test I use now: if my hand isn't tired by the third potato, the tool is doing its job. That's been true every single time with this ricer.
This is the ricer I've used every Sunday for two years
Stainless steel construction, a 15 ounce hopper that handles half a russet per press, and it's held up to weekly mashed potatoes, applesauce, and baby food without a single crack in the handle or a rusted spring.
Amazon Check Today's Price on Amazon →